
Owner: Aaron Fitzell
Last Updated: 2026-30-25
Version: 1.0
(have an idea for how this SOP could be better? Please fill out the Suggest Edit form at the very bottom of this procedure)
Procedure Info
Tags
sign on, sign-on, shift start, start of shift, clock on, clock-on, fob, fit for duty, uniform, presentation check, job sheet, keys, bus number, allocation, pre-trip inspection, pre-trip, inspection, defect, defect logbook, CMS, CMS app, isolator, tyres, wheels, tread, coolant, water level, oil, leaks, fuel, AdBlue, lights, indicators, headlights, brake lights, hazard lights, mirrors, windows, body panels, fire extinguisher, first aid kit, emergency exit, seat belts, safety equipment, Diamond Creek, depot, commencement, shift commencement, beginning of shift, pti, pre trip
Purpose
A quick reference for the few steps every driver needs to complete to start their day at the Diamond Creek depot.
When to Use This SOP
Who Should Use This SOP
This SOP is for drivers operating out of the Diamond Creek depot.
Tools and Resources Needed
(List the equipment, tools, electronics or software needed to complete this procedure.)
Start of Shift Procedure
1. Tap Fob to Start the Clock-On Process
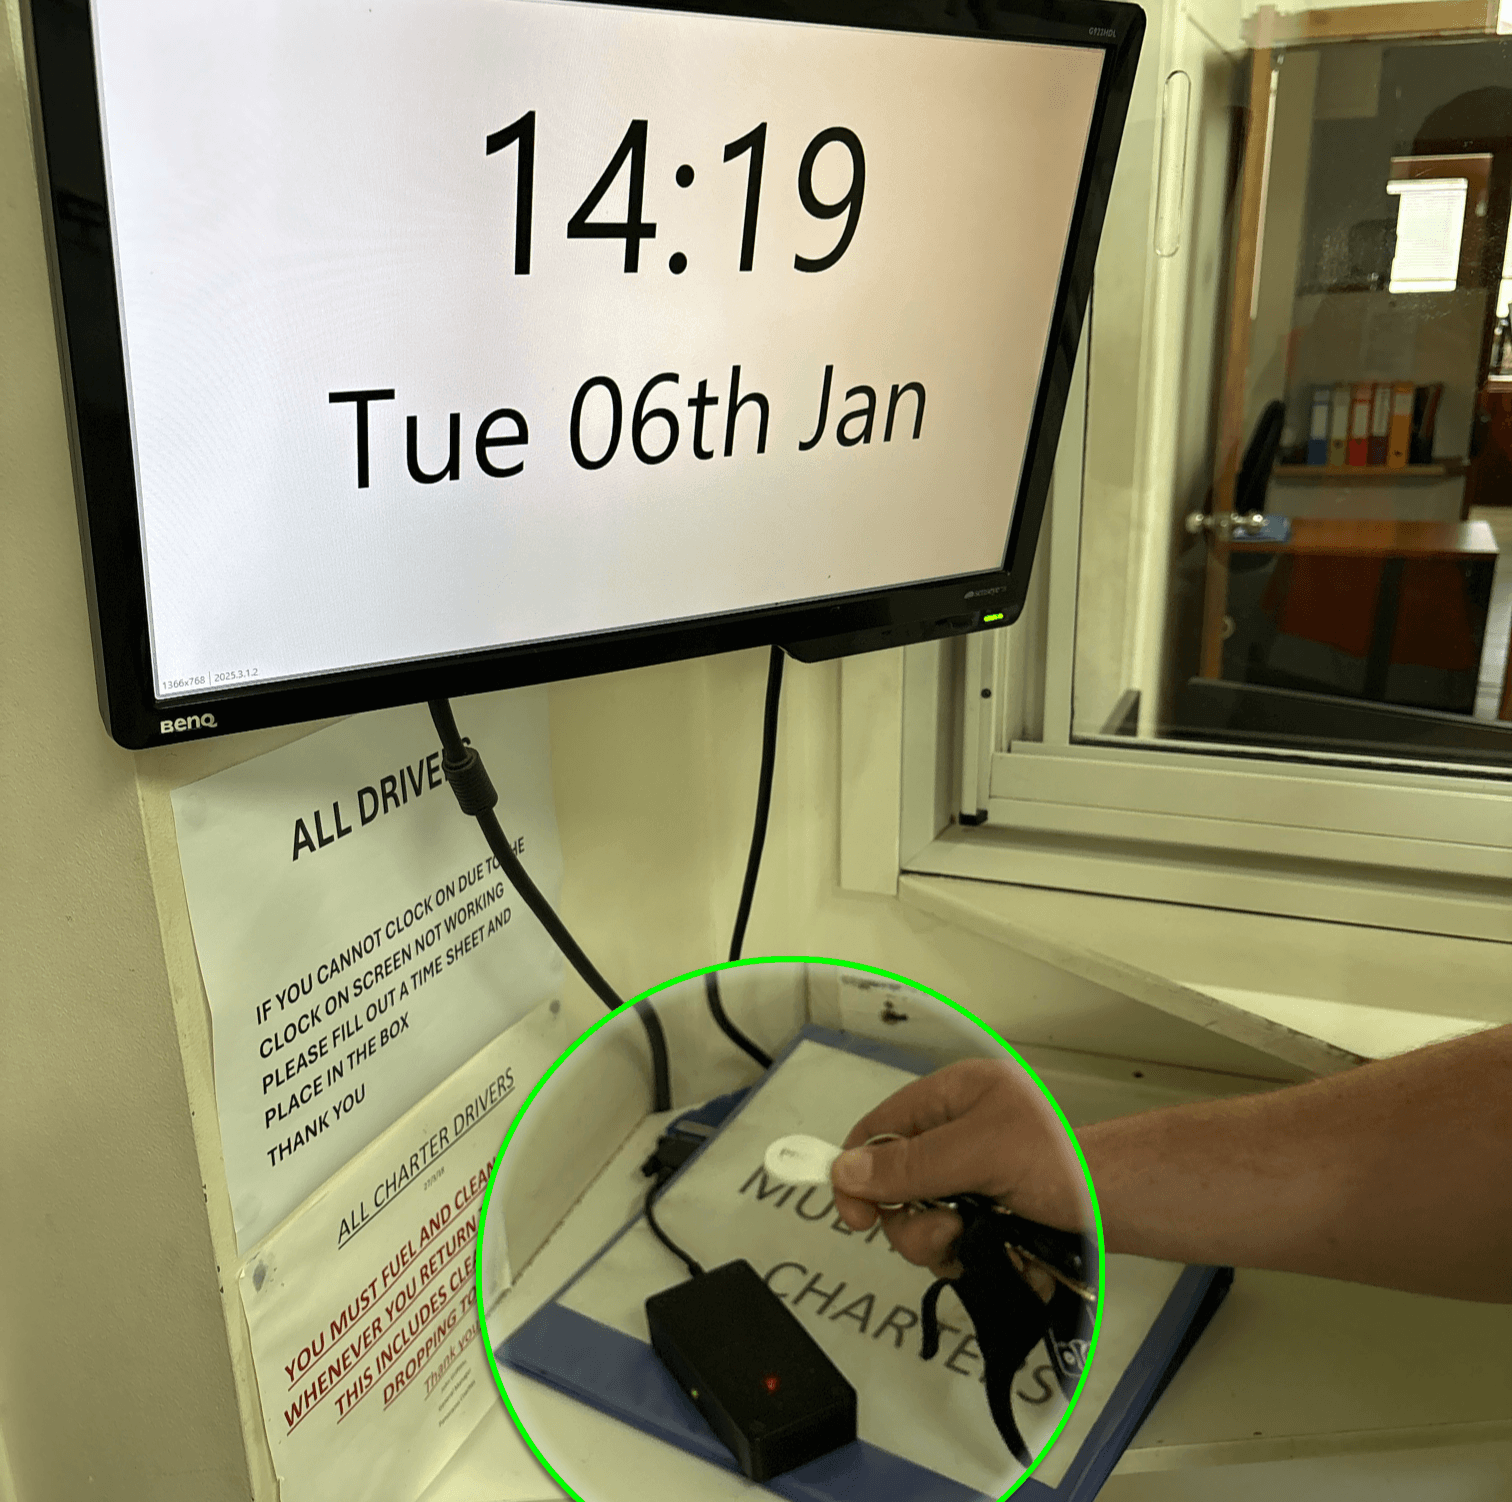
2. Complete Fit For Duty Acknowledgement
3. Uniform and Presentation Check
Ensure you have uniform worn correctly:
- White shirt
- Panorama Tie
- Vest (optional)
- Blue or Black trousers
- Black work shoes or boots.

4. Collect Job Sheet and Keys
- Note the bus number on job sheet and collect correct keys.
- Head to your bus and start your pre-trip inspection.
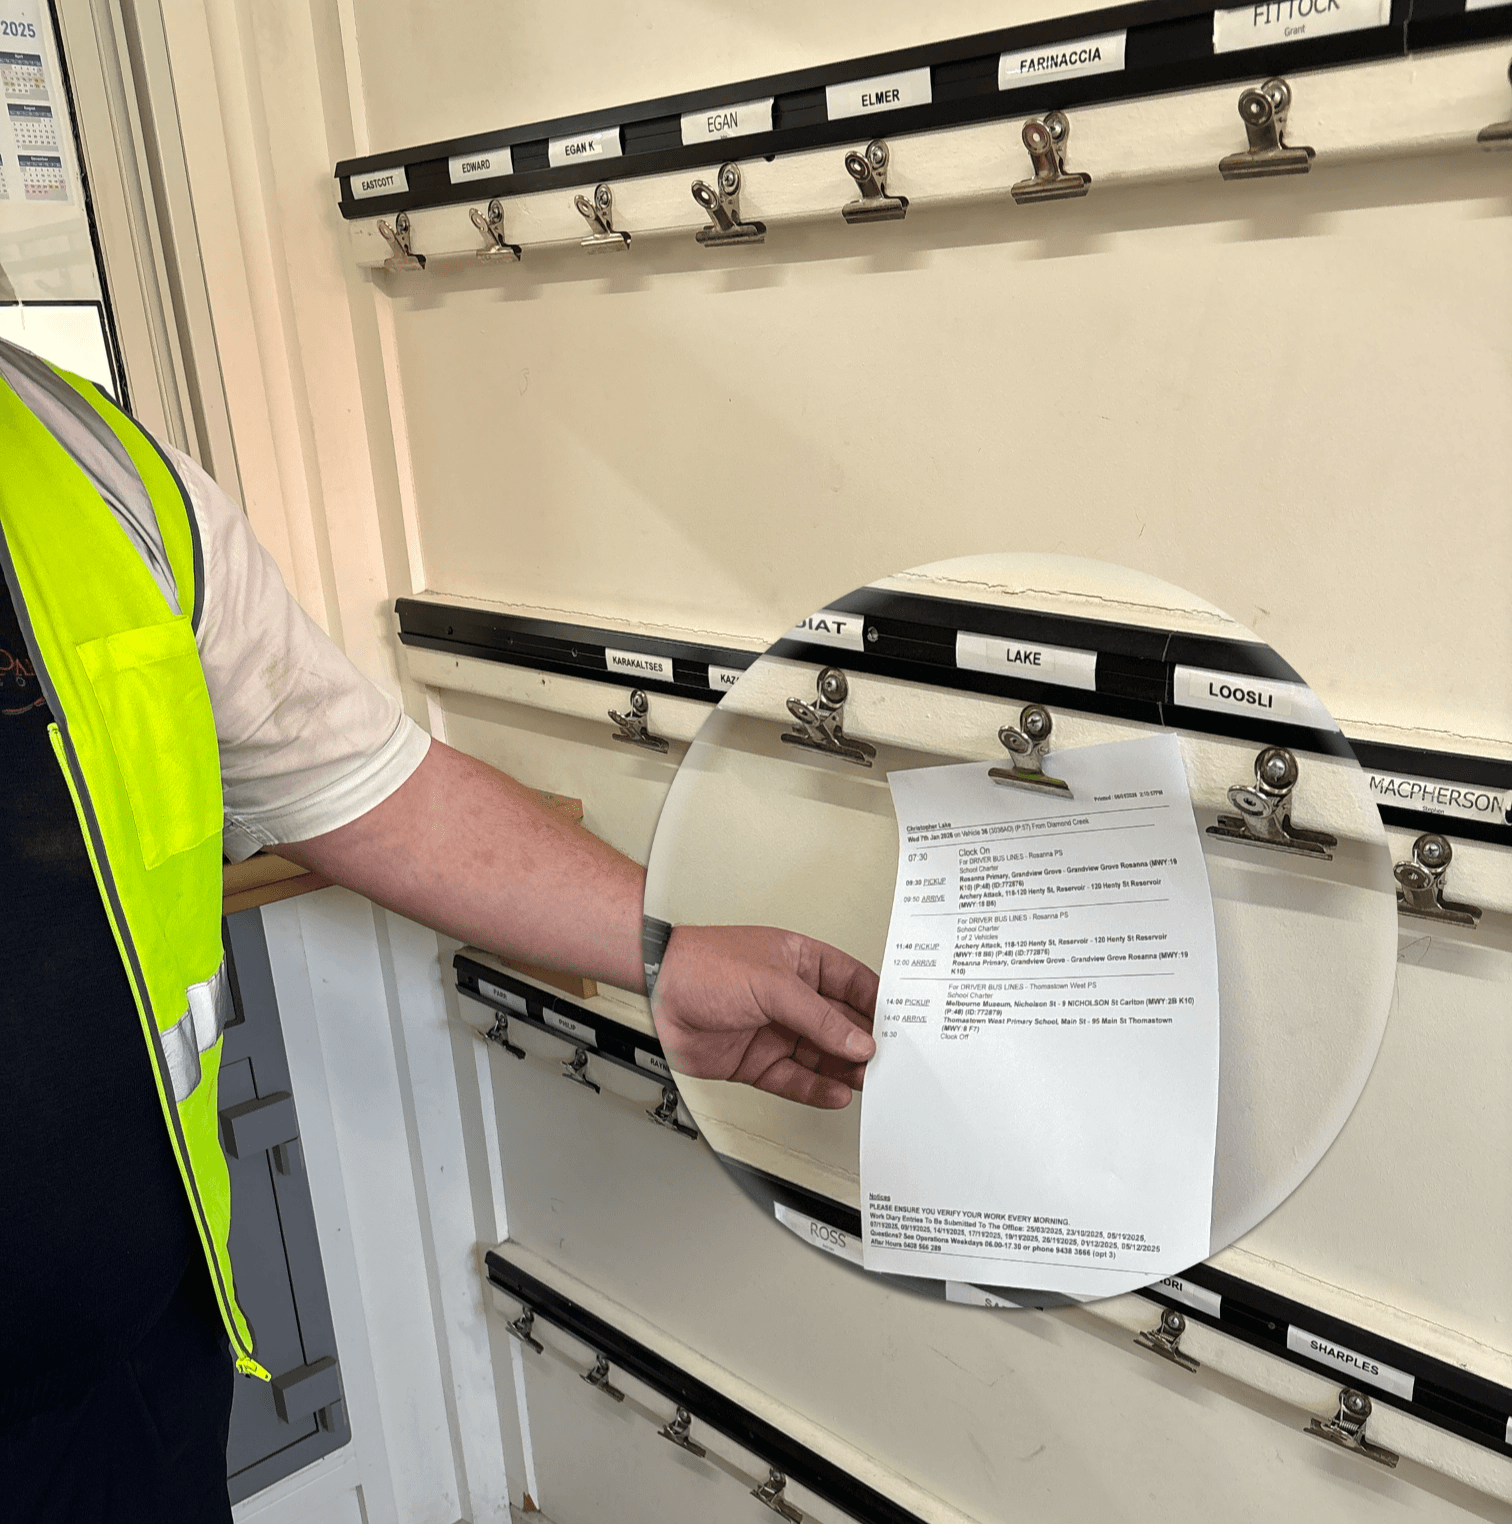
5. Conduct Pre-Trip Inspection
(See steps below)
6. Record Defects
- For any minor defects found, record them in the blue Pre-Trip Inspection binder before departure.
- If a defect makes the vehicle unsafe to drive, DO NOT PROCEED! Exit the vehicle, return to operations and report it immediately to operations.
7. Use CMS Mobile App to Record Inspection Completion
Pre-Trip Inspection
Make sure you include all of these checks in your inspection.
1. Bus Isolators OFF (power on)
See Isolator Locator in the Driver Resource Hub.
2. Tyres & Wheels
- sufficient tread depth (minimum 1.5mm)
- even wear – no cuts, bulge's, embedded objects
- nuts tight - (no rust around lug nuts)
- hubs not leaking
3. Water / Coolant Level
Check that the level of coolant is at the full line. If the bus requires a top up of coolant notify operations and they will get a mechanic to top this up.
4. Oil Level
Any Leaks? – Look under the bus for:
- Pooling oil (brown or golden thick fluid)
- Coolant (green or red watery fluid)
- Fuel (Oily consistency with a distinctive odour) ,
- Brake fluid (Thin oily consistency usually found around brakes or where brakes would sit on the bus)
5. Fuel and AdBlue Levels
- Fuel should be done on the way into the depot.
- AdBlue should be done on the way out of the depot.
- Do not depart the depot with less than 50% AdBlue.
- AdBlue is available in the Car Park-side bowser.
6. Lights & Indicators
- Run light test
- Inspect function & damage of:
- Headlights (low/high beam)
- Brake lights and indicators
- Hazard lights and tail lights
- Side clearance lights
- Height clearance lights.
7. Windows & Mirrors
- No broken glass or mirrors
- Mirrors securely attached and clean
8. Body Panels
Body panels are undamaged and doors close securely.
2. Interior Condition & Safety Equipment
- Was the bus left in a clean condition?
- Safety Equipment - intact and/or secure
- Fire Extinguisher
- First Aid Kit
- Emergency Exit Hammers
- Seat Belts
Review Schedule and Change Log
| Version | Date | Author | Change Summary |
| 1.0 | 2026-03-25 | Joel Smith | Initial draft |